Now that you've
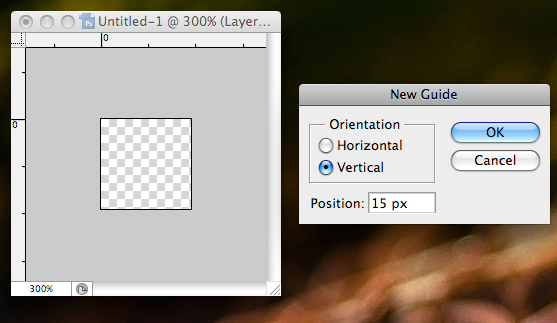
created some brushes, it's time to put them to use. Depending on what kind of image you want, there are two methods we can use. We're going to start with the linear kind, where the speedlines all run parallel to each other.
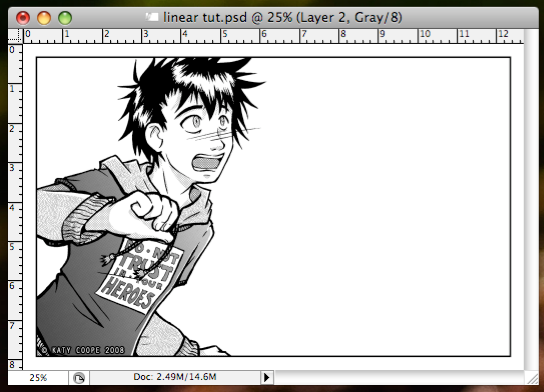
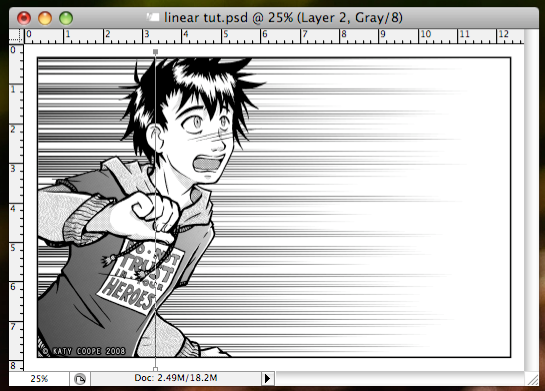
Linear Speedlines1) The first thing we need is an image. Something inked, black and white or screentoned will work best. For this one I've drawn a quick shot of a guy reacting to something off panel. If you've not flattened it, put all the layers you've used to make the image so far into a group, to make it easier to see what you're doing.
 Note: These techniques work best on images smaller than 2000x2000, though that's not a hard and fast rule.
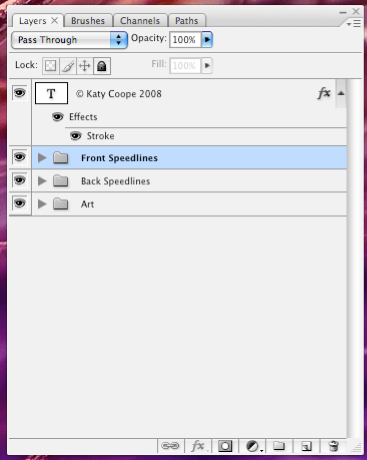
2) Before we make our speedlines, we need to mask out the areas we want them to appear in. We're going to want two main masks: a foreground and a background. To make this easier, create a new group for each on the layer pallet.

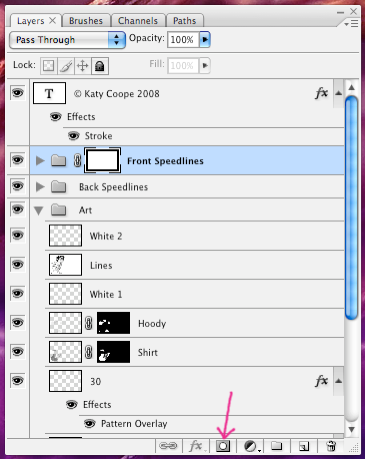
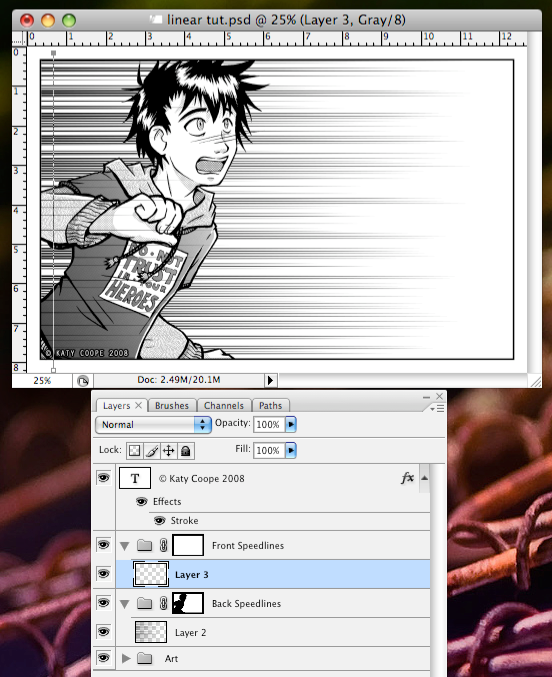
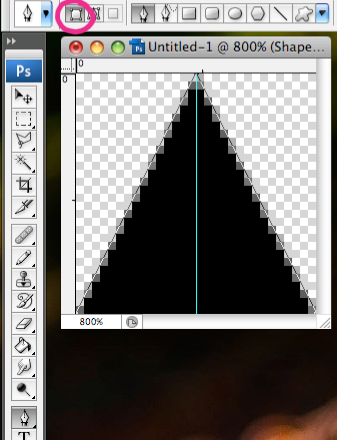
3) The easiest way to create the masks is to select the areas you want the speedlines to appear in, select the layer group and then click the 'add layer mask' button (pointed out on the screenshot). This will make a little thumbnail of the mask appear, which can also be edited with the painting tools.
 Note: If you have any dialogue in your panel, you don't want your speedlines to cover it. Use your masks to protect dialogue that is part of the artwork. Where it has been added separately, just put your dialogue layers above the speedline layer groups.
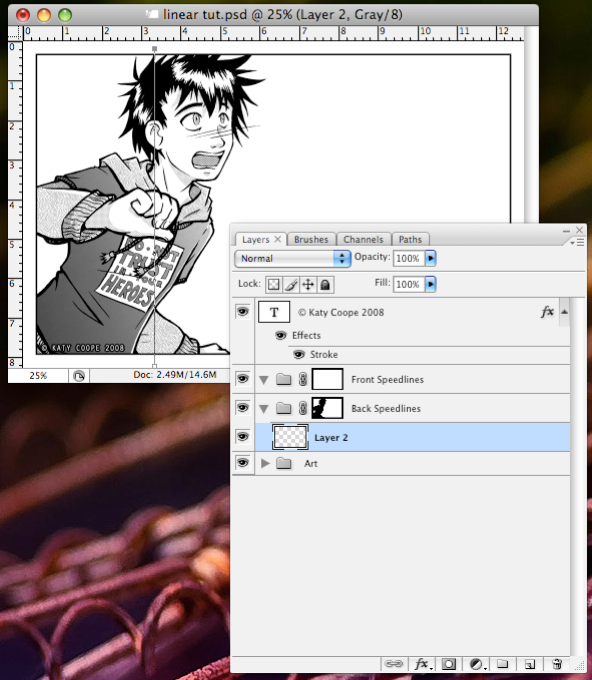
4) Once you have your masks set up, it's time to use your brush. Create a layer in your background speedline group. Select the pen tool, and make a straight path. This should be 90 degrees anti-clockwise from the direction you want your speedlines to be going. Here I wanted them pointing left to right, so I made a path going from the bottom to the top of the panel.

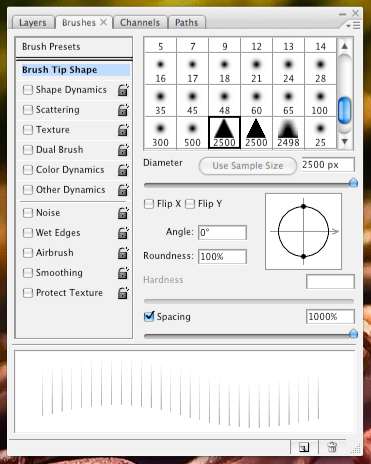
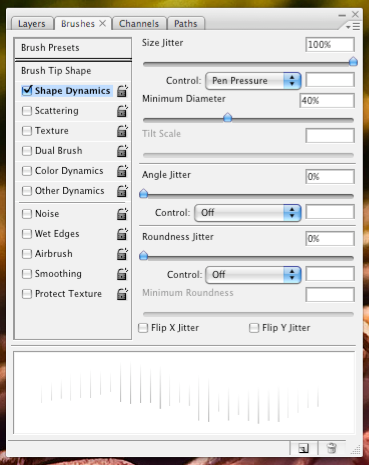
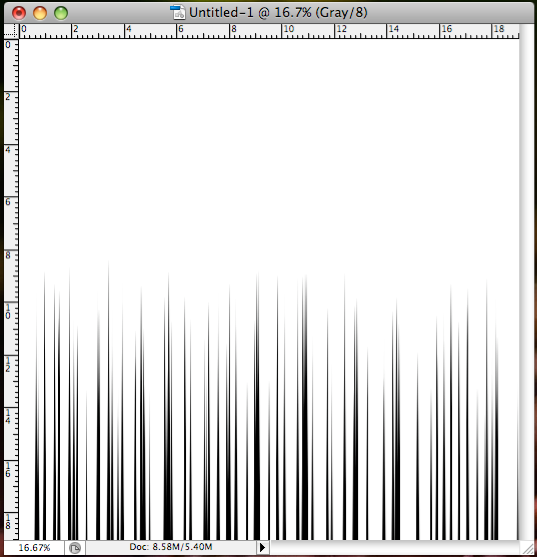
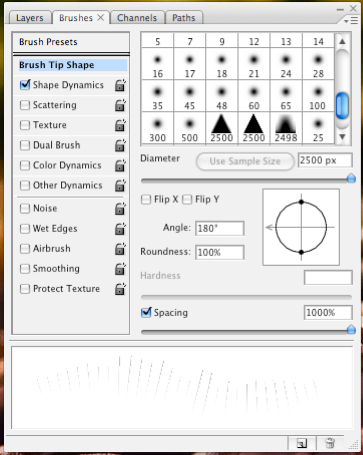
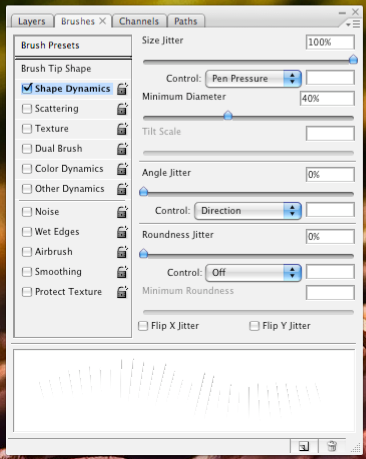
5) This is where some trail and error comes in, as the next few steps will vary depending on your image. Switch to the brush tool, pick one of your speedline brushes and adjust the master diameter to the length you want the longest speedlines to be. Then, making sure you still have the path selected, hit the enter to stroke the path. I tend to prefer thinner brushes, but it will depend on the size of your image. If the speedlines are too thick or too long, adjust their size in the brush tip shape pane and try again. If you see any 'blunt' ends appearing, drag the path back towards the edge of the panel.

6) Our speedlines are still looking a bit sparse, so lets add some more. Adjusting the spacing and size if you like, stroke the path a few more times. The lines can be made thinner by dragging the path back towards the edge of the panel. You can either keep building the speedlines up on the same layer, or make a new layer for each stroke to give yourself a little more control.

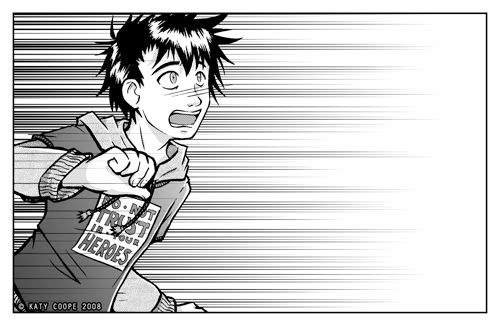
7) Make a new layer in your foreground speedline group. Drag the path back a little and then stroke it a couple of times to put some speedlines in front of the character.

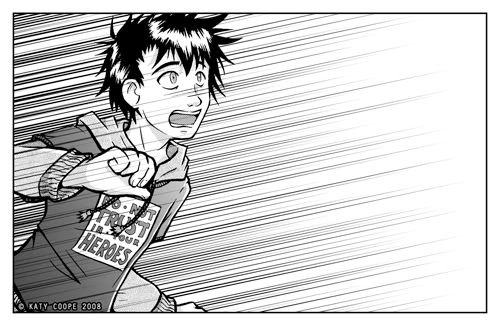
8) And there you have your linear speedlines. If they don't give you quite the effect you want, try experimenting with angles. Generally, diagonal lines will look more unstable or uncomfortable than lines that follow the shape of your panel— which can be just what you need for a particular moment. For example, this image looks more dramatic if the lines follow that character's gaze rather than the edges of the panel:

 Radial Speedlines
Radial speedlines are often used to highlight a particularly dramatic moment, although you can also use this technique to suggest movement towards or away from the 'camera'. They can be created in much the same way as we made our linear speedlines, the key difference being we use a circular path instead of a straight one.
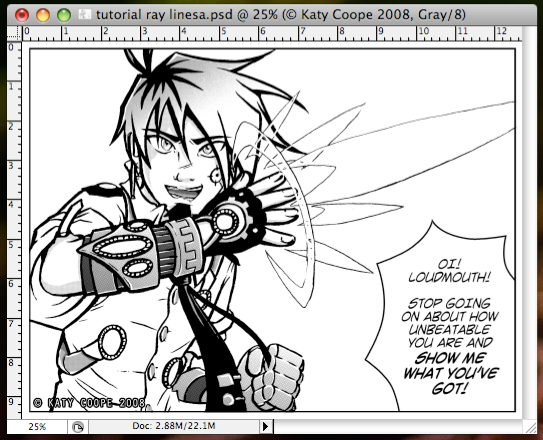
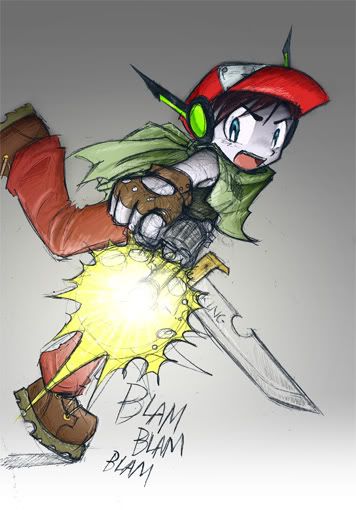
1) Here's my starting image, of my character Ray calling out a bad guy. Set up your masks and groups like before.
 Note: You can use larger images for this than you could with the linear speedlines. However, as there is a limit to the brush spacing allowed, using too large an image can lead to unnaturally regular speedlines.
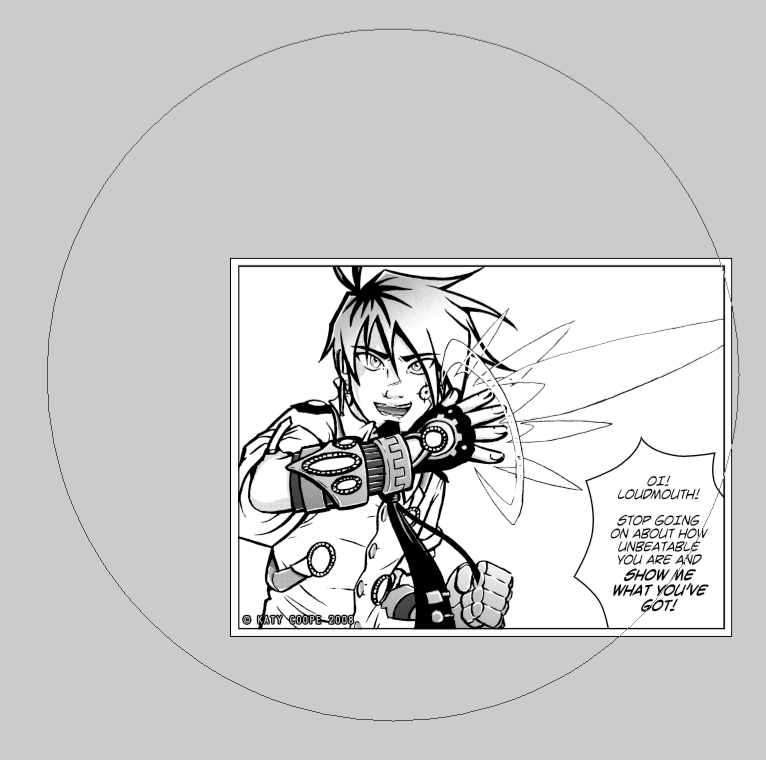
2) Grab the circle tool, set to path rather than shape. Hold option and shift then click on the focal point of your image and drag outwards to make a perfect circle. This circle will run through the centre of each of the speedline strokes, so make it nice and big or they'll protrude too far into your image.

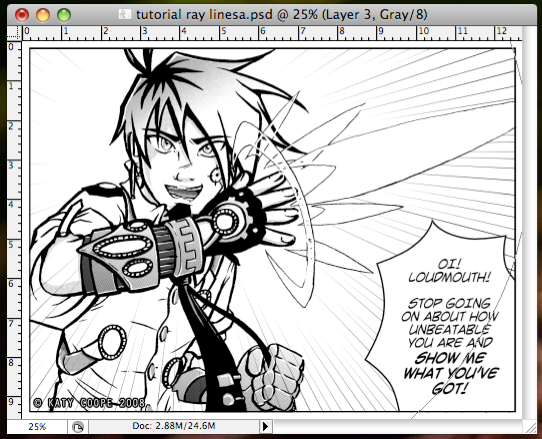
3) Now all you need to do is stroke the path as before, and you're done! Usually there'll be fewer lines in this kind of image.


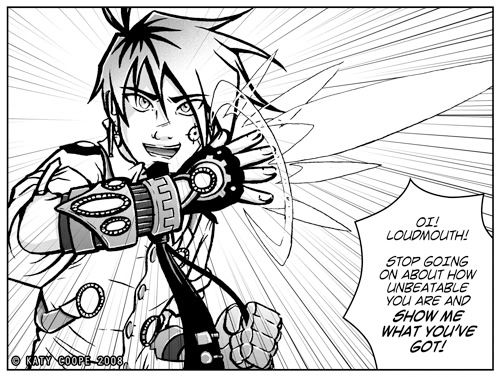
There are plenty of ways to modify this technique. You can double up layers to make some lines bolder, use the eraser to get rid of awkward looking lines, and adjust the presets on the fly to tailor your speedlines to your image. You can even try adding some in white, or creating your own hand drawn brushes instead of the vector triangles. Experimentation is the key and there are lots of different effects that you can create with this technique.
Good luck!


